How to Winterize Your Irrigation System in Austin, Texas: A Step-by-Step Guide
By Innovation Grounds
As the cooler months approach in Austin, Texas, many homeowners begin to focus on preparing their properties for winter. One critical aspect of winterizing your home is ensuring that your irrigation system is properly shut down and protected from freezing temperatures. Properly winterizing your irrigation system not only helps prevent costly repairs but also ensures that your system remains in good condition for the following spring.
In this blog, we will walk you through the steps to winterize your irrigation system in Austin, Texas, and why it’s so important to do so. Whether you have a simple drip system or a more complex sprinkler system, these tips will help you keep everything in top shape for the colder months ahead.
Why Winterizing Your Irrigation System is Essential in Austin, Texas
While Austin is known for its mild winters, there are occasional cold snaps that can cause temperatures to dip below freezing. These freezing temperatures can wreak havoc on irrigation systems if they’re not properly prepared. Here’s why winterizing your irrigation system is so important:
- Prevent Pipe Damage: When water left in your pipes freezes, it can expand and cause pipes to burst, resulting in expensive repairs.
- Avoid Backflow Issues: Winterizing helps prevent contaminants from entering your water supply if your backflow valve malfunctions due to freezing.
- Prolong the Life of Your System: Regular maintenance and winterization keep your irrigation system functioning optimally, reducing wear and tear over time.
- Save Money: Repairing a broken irrigation system can be costly, so taking the time to properly winterize can help you avoid unnecessary expensesNow that you understand why it’s crucial, let’s dive into how to winterize your irrigation system in Austin.
Now that you understand why it’s crucial, let’s dive into how to winterize your irrigation system in Austin.
Step 1: Turn Off the Water Supply
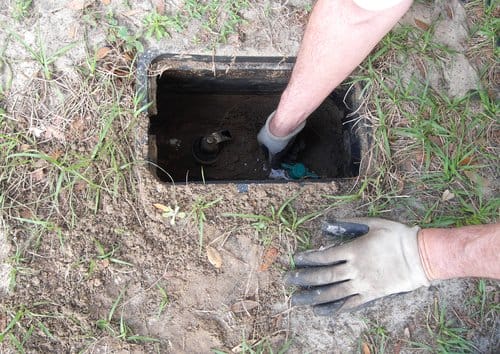
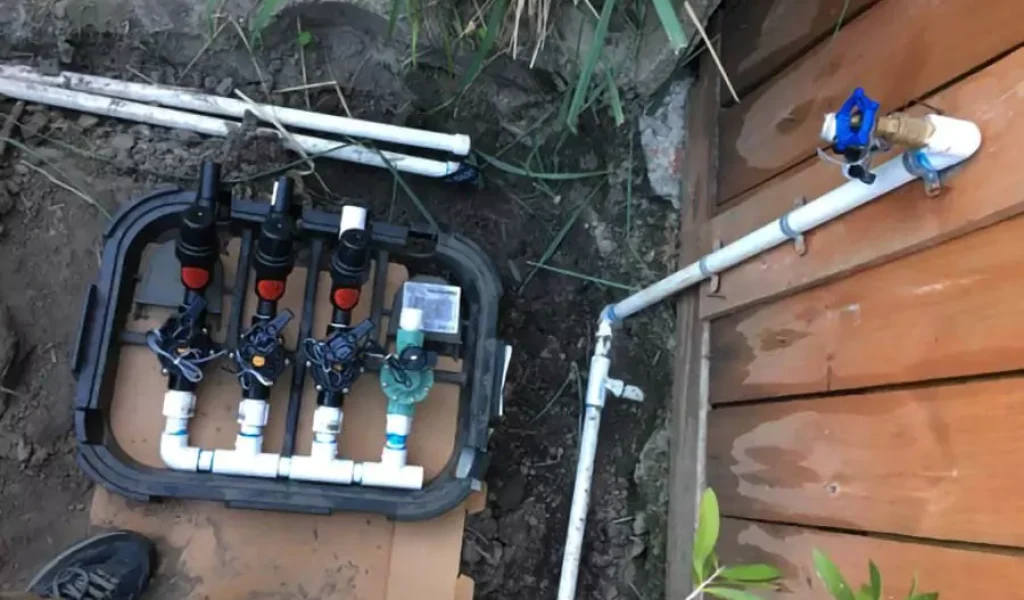
The first step to winterizing your irrigation system is to turn off the water supply. Most systems have a main shutoff valve, which is usually located near the water meter or in a valve box close to the foundation of your home.
How to turn off the water:
1. Locate the main shutoff valve for your irrigation system.
2. Turn the valve clockwise to close it completely. This will prevent any water from entering the system during the winter months.
Once the water supply is turned off, you can proceed to drain the system.

Step 2: Drain the System
It’s essential to remove any water left in the pipes, as this water can freeze and cause damage. There are two main ways to drain an irrigation system: manual drainage and automatic drainage.
- Manual Drainage: For systems with manual drain valves, you can open each valve to allow the water to drain out. This process might take some time, but it’s a thorough way to ensure that water is removed from all parts of the system.
2. Automatic Drainage: If you have an irrigation system with an automatic drain valve, it will automatically drain the water as soon as the water supply is shut off. In this case, simply turning off the water and allowing the system to drain should suffice.
Tip: After draining, check all exposed pipes and valves for any remaining water, especially in areas where freezing temperatures could be an issue.
Step 3: Blow Out the Lines
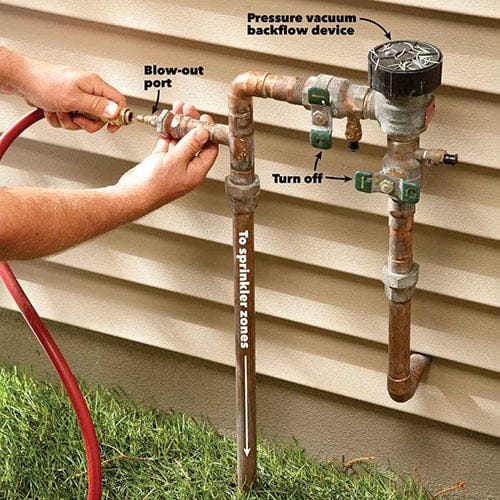
- Blowing out the irrigation lines is one of the most effective ways to ensure that no water remains in the pipes. Using compressed air to blow out the remaining water helps to prevent freezing and bursting pipes. This step is often recommended for sprinkler systems with PVC or flexible polyethylene tubing.
How to blow out the lines:
- Rent or purchase a compressor that can produce at least 50-60 psi of air pressure.
- Attach the compressor’s air hose to the irrigation system’s blow-out port, typically located near the backflow preventer or at the start of the irrigation line.
- Turn on the compressor and let it run, allowing the air to force any remaining water out of the lines.
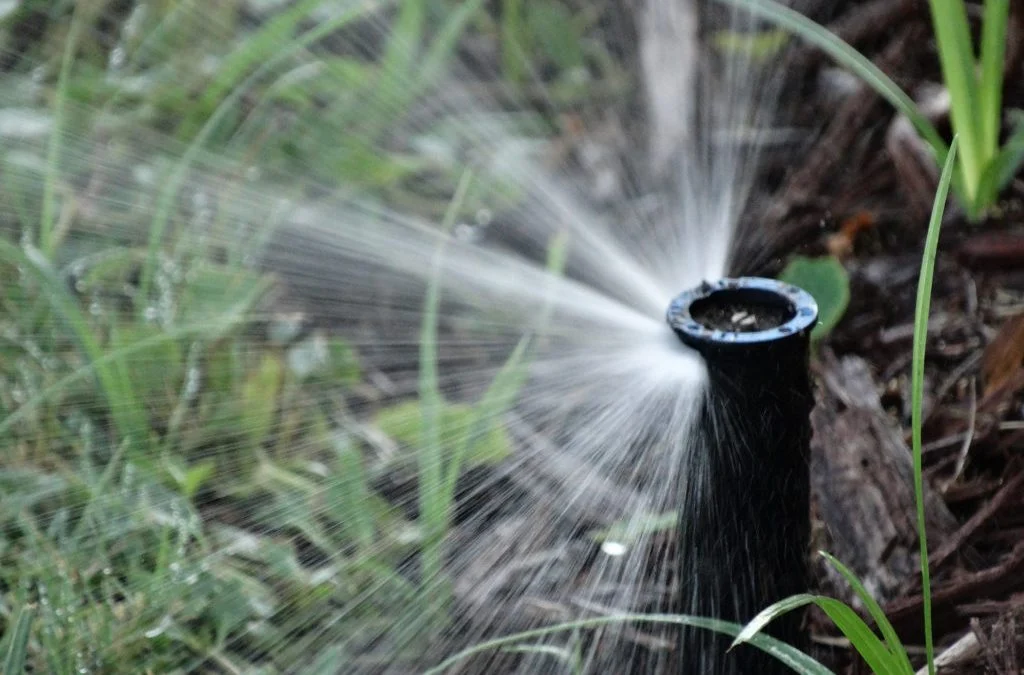
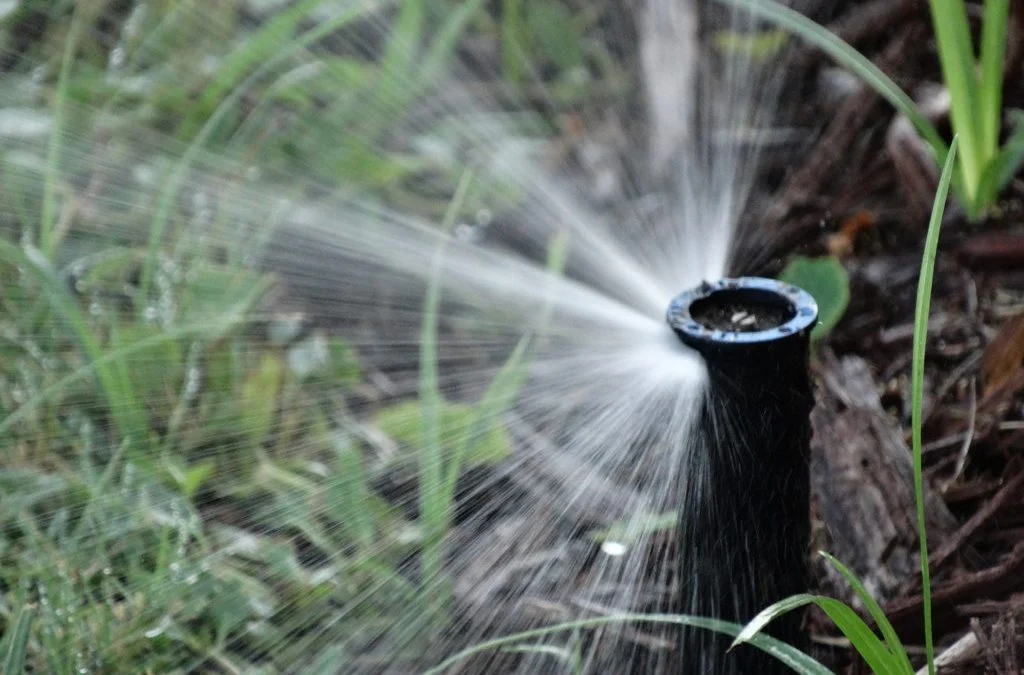
- Go around the system to each zone and let the air push out all the water in each sprinkler head.
It’s important to make sure that each zone is completely blown out to avoid any water being left behind, which could freeze in cold temperatures.
Tip: If you’re not comfortable using a compressor, consider hiring a professional irrigation service to perform this task.

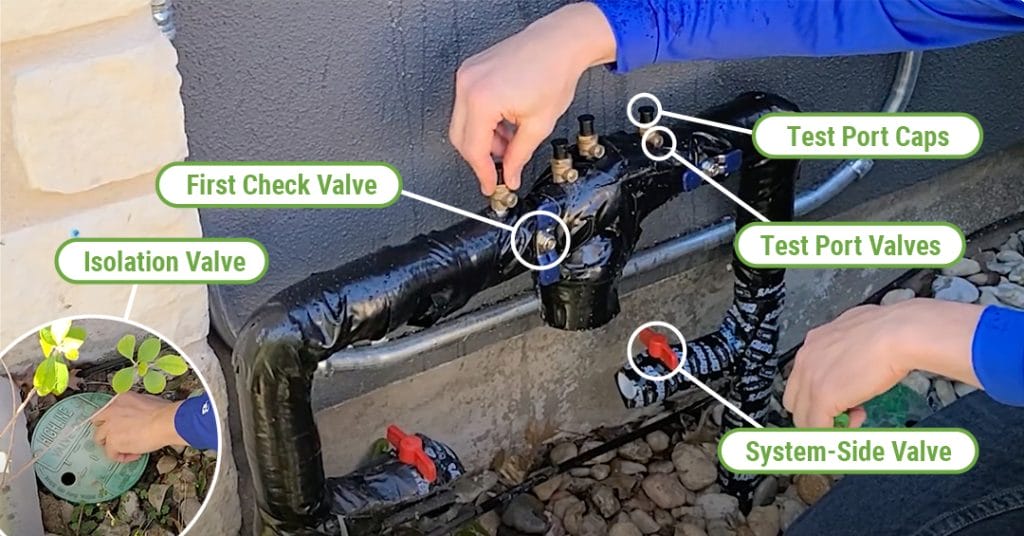
While freezing temperatures in Austin are rare, they do happen. Exposed pipes and backflow preventers are particularly vulnerable to freezing, especially if they are located near the surface or in unprotected areas.
How to insulate exposed pipes and backflow preventers:
- Use foam pipe insulation, which is available at most hardware stores, to wrap around exposed pipes.
- For backflow preventers, you can purchase a special insulated cover or wrap the device in towels or blankets and secure it with duct tape. Just be sure the insulation doesn’t interfere with the operation of the backflow preventer.
Insulating these areas will provide an extra layer of protection in the event of an unexpected cold snap.
Step 4: Insulate Exposed Pipes and Backflow Preventer
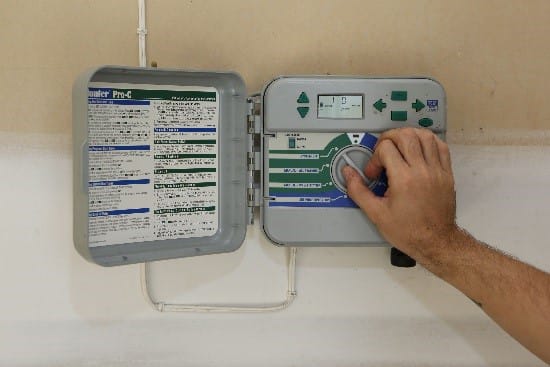
Step 5: Check and Adjust the Timer and Controller
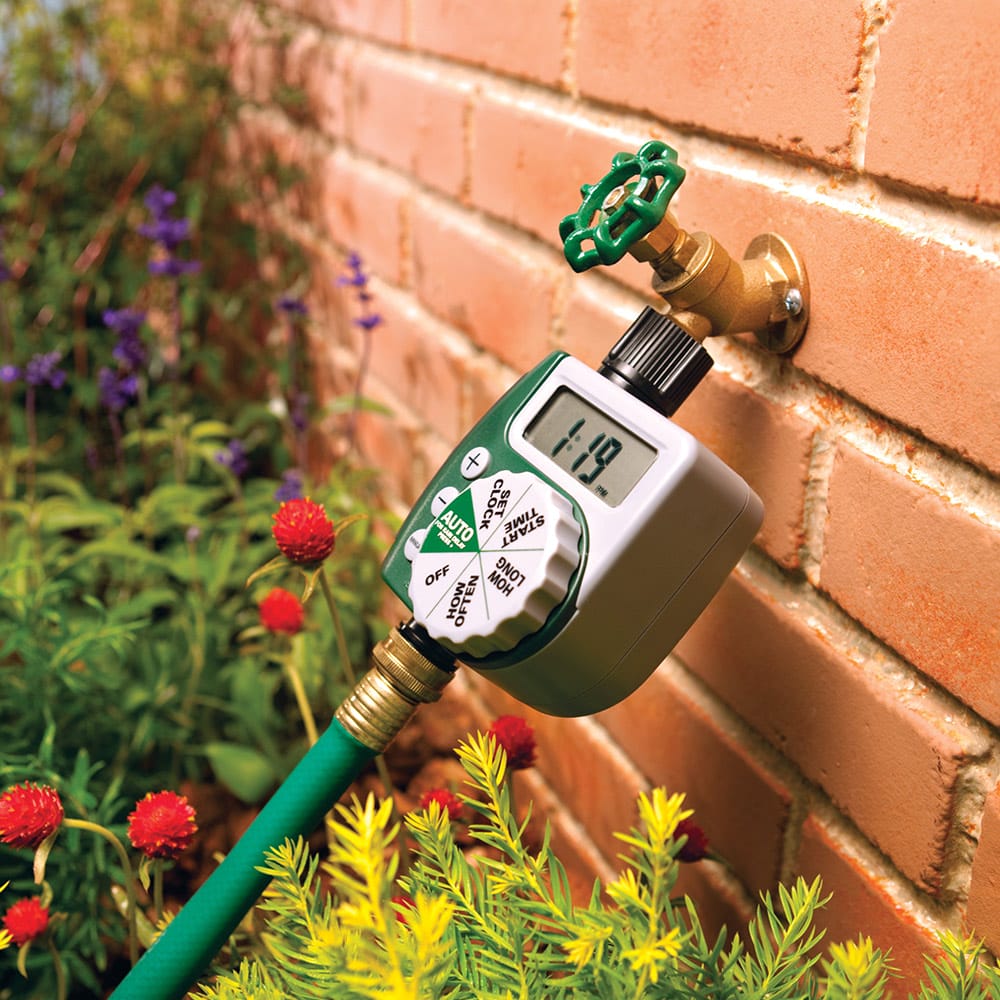
Before completely finishing your winterizing process, check the timer or controller for your irrigation system. You may need to adjust the settings or switch the system to a “rain” or “off” mode, depending on the type of controller you have.
If your system has a smart controller, it should automatically adjust to the winter season, but it’s always a good idea to double-check. Make sure the system is set to turn off completely during the winter months.
Step 6: Schedule Regular Inspections
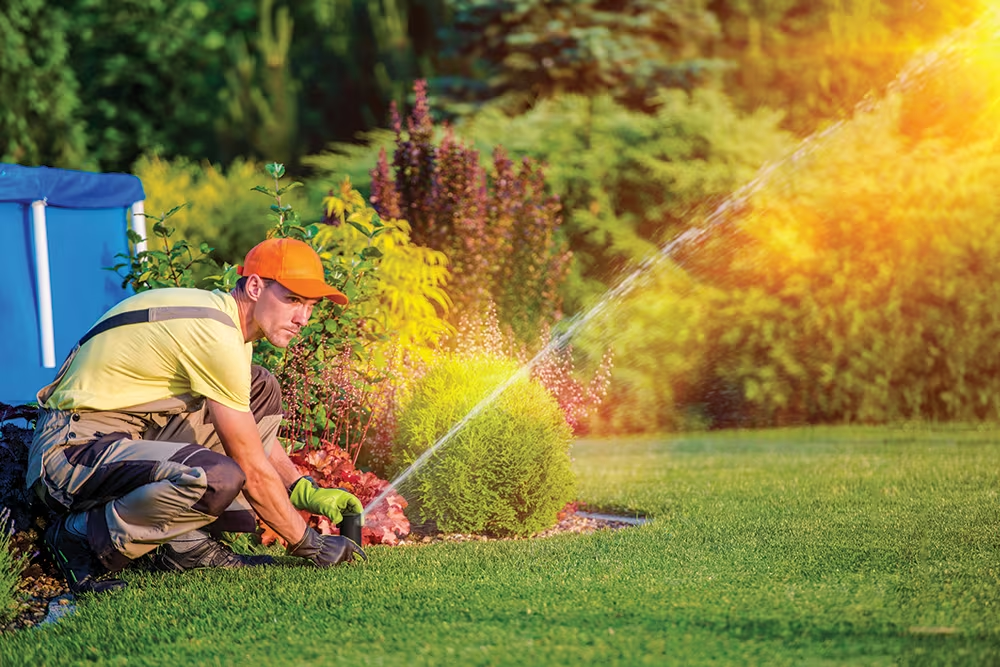
After completing the winterization process, it’s a good idea to schedule a professional inspection of your irrigation system in the spring. A technician can check for any issues that may have arisen during the winter months, such as damaged pipes or malfunctioning sprinkler heads.
Having a professional inspect your system annually helps ensure that it will be ready to go when you need it most—during the warm Austin summer months.
Winterizing your irrigation system in Austin, Texas, is a crucial step in protecting your investment and ensuring that your irrigation system works efficiently for years to come. By following these simple steps—turning off the water supply, draining the system, blowing out the lines, insulating exposed pipes, and checking your timer—you can avoid costly repairs and keep your irrigation system running smoothly.
If you’re unsure about any of the steps or prefer to leave the job to the professionals, don’t hesitate to contact a local irrigation expert. They can help you prepare your system for the winter months, giving you peace of mind and a fully functional irrigation system come spring.
Remember, while Austin’s winters may be mild, it’s always better to be proactive when it comes to protecting your irrigation system. Happy winterizing!

Final Thoughts
