Rain gardens are an effective and eco-friendly way to manage stormwater, reduce runoff, and prevent waterlogging on your property. These sustainable landscaping features help improve drainage while adding beauty and biodiversity to your outdoor space. In this guide, we’ll walk you through the process of how to build a rain garden, from planning and designing to planting and maintenance.


What is a Rain Garden?
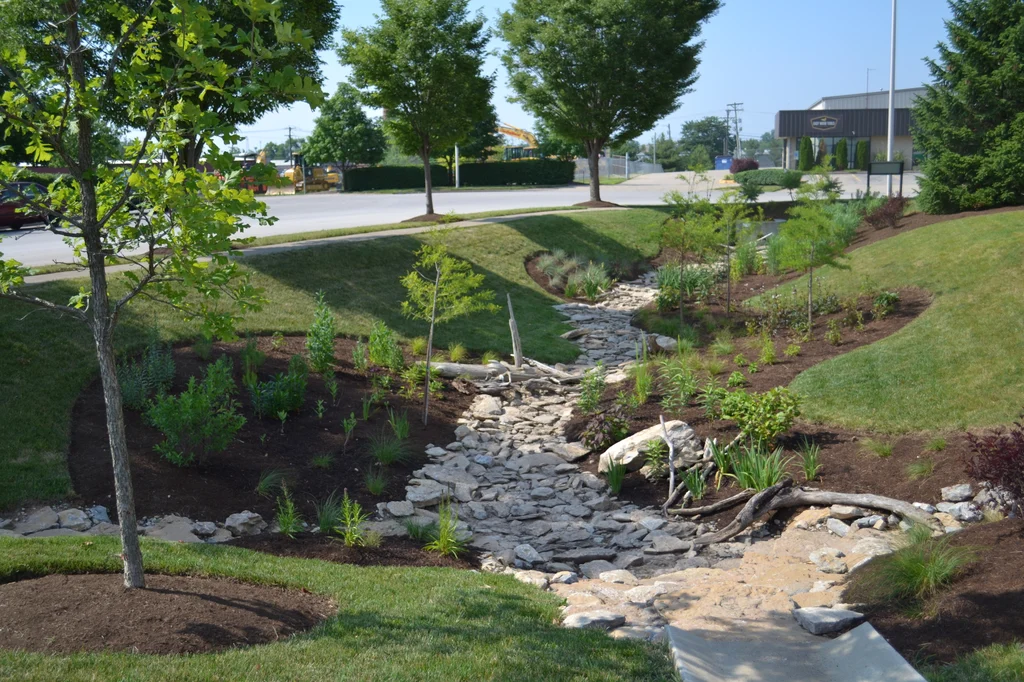
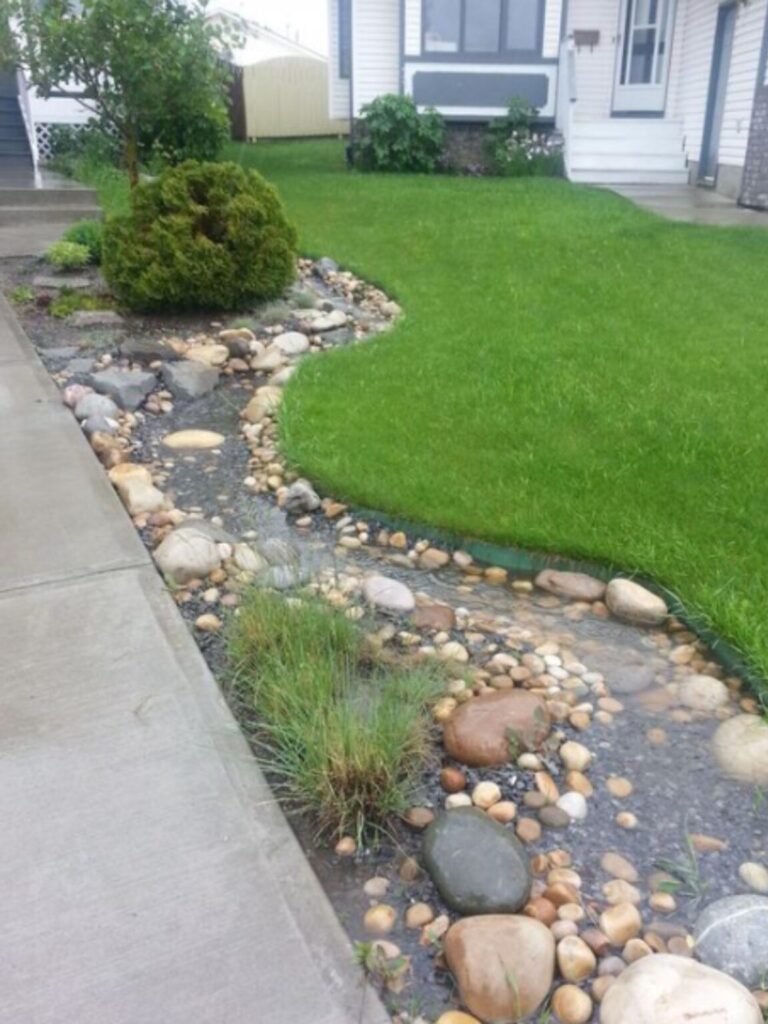
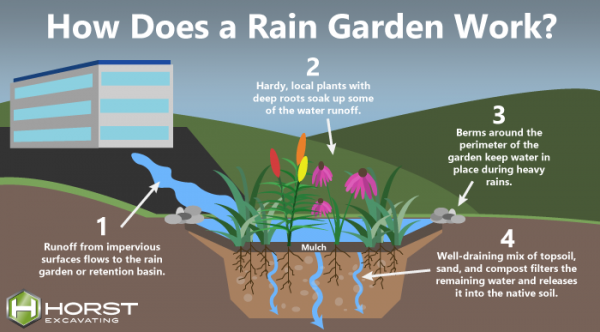
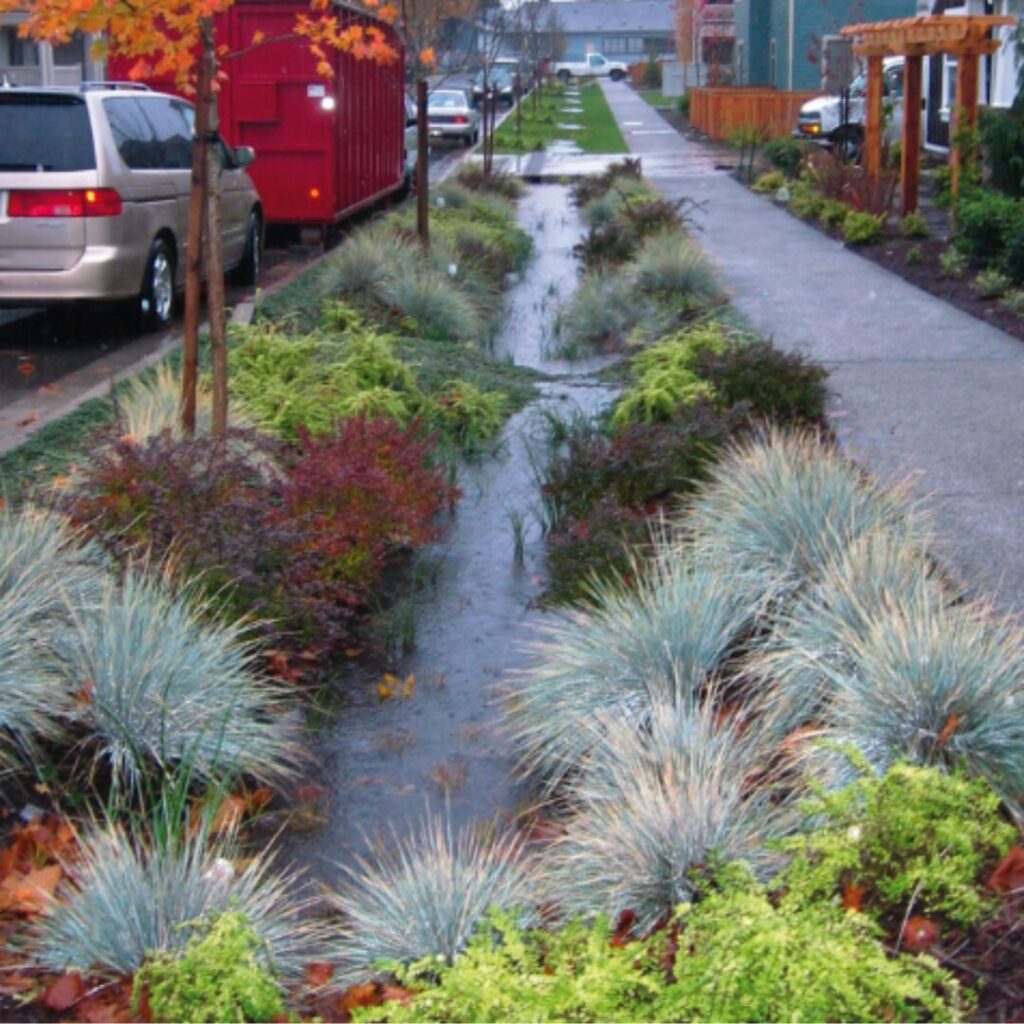
A rain garden is a specially designed garden that captures and absorbs rainwater runoff from impervious surfaces such as roofs, driveways, and sidewalks. By allowing the water to infiltrate the soil, a rain garden reduces the volume of stormwater runoff that can cause flooding, erosion, and pollution in nearby water bodies. The plants in a rain garden are chosen for their ability to thrive in wet conditions, while also improving the aesthetic and ecological value of your landscape.
Why Build a Rain Garden?
Building a rain garden offers several benefits for homeowners and the environment:
Improved Drainage: Rain gardens help alleviate drainage problems by capturing excess rainwater and allowing it to slowly seep into the ground.
Reduced Runoff: These gardens reduce the volume of stormwater runoff, helping prevent local flooding and erosion.
Water Quality Improvement: Rain gardens filter out pollutants such as pesticides, fertilizers, and oil, preventing them from entering storm drains and waterways.
Eco-Friendly Landscaping: They promote biodiversity by providing habitat for pollinators, birds, and beneficial insects.
How to Build a Rain Garden: Step-by-Step Process
1. Choose the Right Location
The first step in building a rain garden is selecting the ideal location. Look for areas where water naturally collects, such as low-lying spots, near downspouts, or areas with poor drainage. Ensure the garden is at least 10 feet away from foundations, driveways, or large trees, as you don’t want to cause water damage to structures or disturb root systems.
To determine the flow of water in your yard, observe how rainwater moves during storms. This will help you choose a location that efficiently captures runoff.
2. Plan the Size and Shape of the Garden
Once you’ve chosen the location, measure the area to determine the appropriate size for your rain garden. The size will depend on the amount of runoff you need to manage. As a general rule, a rain garden should cover about 20% to 30% of the area draining into it.
Consider the shape of the garden too. A kidney or crescent shape works well for aesthetic appeal and proper water flow. Avoid creating a garden with sharp angles or corners, as this can disrupt water movement and drainage.
3. Excavate and Prepare the Soil
Before planting, you’ll need to prepare the soil to ensure it can absorb the rainwater efficiently. Start by excavating the area to a depth of 4 to 8 inches, depending on the amount of water you’re managing. If the soil in your area is compacted or clayey, consider loosening it further with a garden fork or shovel to allow for better water infiltration.
You may also need to add organic matter like compost to improve the soil’s drainage and nutrient content. Aim for a well-draining soil mixture that allows water to soak in but doesn’t hold moisture for too long, which could drown the plants.
4. Select the Right Plants for Your Rain Garden
Choosing the right plants for your rain garden is crucial to its success. Opt for native plants that are well-suited to your region’s climate and rainfall conditions. Native plants are adapted to local soil types, weather patterns, and water conditions, making them more resilient and easier to maintain.
When selecting plants, choose a mix of species that thrive in both wet and dry conditions, as rain gardens often experience fluctuating water levels. Include a variety of plant types:
Grasses and Sedges: These plants help stabilize the soil and manage water flow.
Perennials: Choose water-loving perennials such as irises, columbine, and cardinal flowers for added color and texture.
Shrubs and Small Trees: Opt for shrubs like buttonbush or elderberry that can tolerate wet soil and provide additional structure.
Ensure your plants are spaced appropriately to avoid overcrowding and allow proper air circulation.
5. Add Mulch and Create a Berm
To further improve water infiltration, add a layer of mulch over the soil. Mulch helps retain moisture, suppress weeds, and prevent soil erosion. Choose an organic mulch like shredded bark or wood chips that won’t float away during heavy rains.
You may also want to create a small berm or mound along the outer edge of the garden to help direct water into the garden. The berm will act as a barrier to keep runoff flowing into the center of the rain garden, rather than spilling over the edges.
6. Water and Maintain Your Rain Garden
After planting your rain garden, water the plants thoroughly to help them establish strong roots. During the first growing season, be sure to monitor the garden regularly and water as needed. Once the plants are established, they should require minimal watering, as they are adapted to your local climate and rainfall patterns.
Ongoing maintenance involves occasional weeding, adding more mulch as needed, and ensuring proper drainage. You may also want to trim plants in early spring to encourage healthy growth and maintain the garden’s appearance.
Conclusion: Enjoy the Benefits of Your Rain Garden
Building a rain garden is a rewarding project that helps improve drainage, manage stormwater runoff, and enhance your yard’s beauty. By following these steps and selecting the right plants, you can create a sustainable, low-maintenance solution that benefits both your property and the environment.
A rain garden not only helps reduce flooding and water pollution but also provides a natural habitat for local wildlife and promotes biodiversity in your area. So, start planning your rain garden today and enjoy the long-term benefits of improved drainage and a healthier landscape.


