Creating a clean, well-defined landscape not only enhances your yard’s aesthetic appeal but also provides a neat, structured appearance that complements the beauty of your outdoor space. One of the easiest and most effective ways to achieve this is by installing landscape edging. Whether you’re a beginner or a seasoned gardener, proper edging ensures your lawn stays crisp, your garden beds stay intact, and your landscaping investment lasts longer. In this blog, we’ll show you how to install edging for a clean landscape look that’ll make your yard the envy of the neighborhood.


What is Landscape Edging?
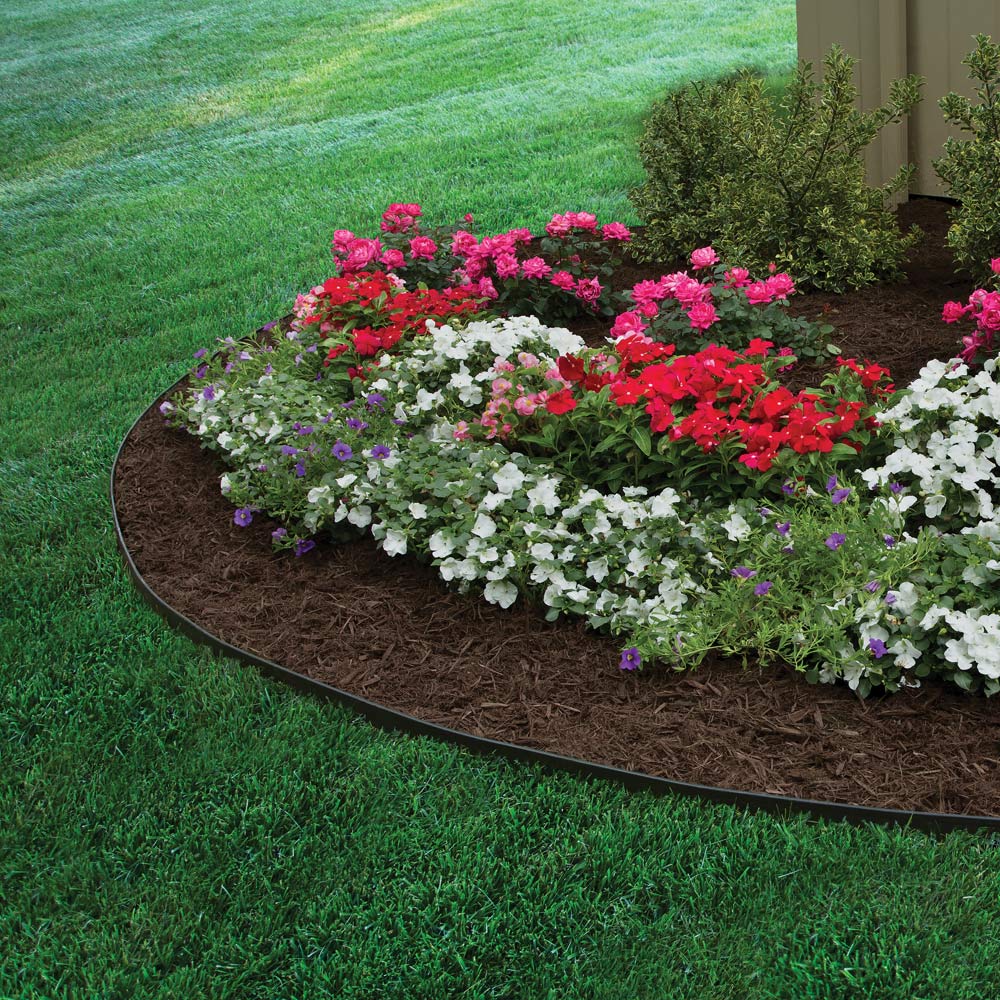
Landscape edging refers to the materials or borders used to separate different elements of your landscape, such as flower beds, lawn areas, or walkways. Edging provides several benefits, including preventing grass from encroaching into garden beds, defining your landscape’s shape, and creating a polished look. Edging also helps control weed growth and can prevent soil erosion, making it an essential element of yard maintenance.
Why Should You Install Edging?
Before diving into the installation process, let’s take a moment to highlight why you should consider installing landscape edging:
Aesthetic Appeal: A neat, clean border instantly elevates the look of your lawn and garden.
Practical Functionality: Edging separates your flower beds from your lawn, keeping grass and plants in their designated spaces.
Prevents Grass Encroachment: Grass can often invade garden beds, but edging forms a barrier to stop this.
Weed Control: A solid edge prevents weeds from growing between lawn and garden areas.
Easy Maintenance: With edging in place, keeping your yard neat and tidy becomes less of a hassle.
Types of Landscape Edging Materials
When installing landscape edging, you’ll have a range of materials to choose from. The right material will depend on your yard’s aesthetic, budget, and the amount of maintenance you’re willing to invest. Here are a few options to consider:
Plastic Edging: Easy to install, flexible, and low-maintenance, plastic edging is a cost-effective choice. It comes in rolls or sections and is ideal for curved or straight borders.
Metal Edging: Durable and long-lasting, metal edging is perfect for creating sharp, clean lines. It’s often used in modern and contemporary landscape designs.
Wood Edging: Wood creates a rustic, natural look and can be easily shaped. However, it requires regular maintenance and may rot over time if not treated properly.
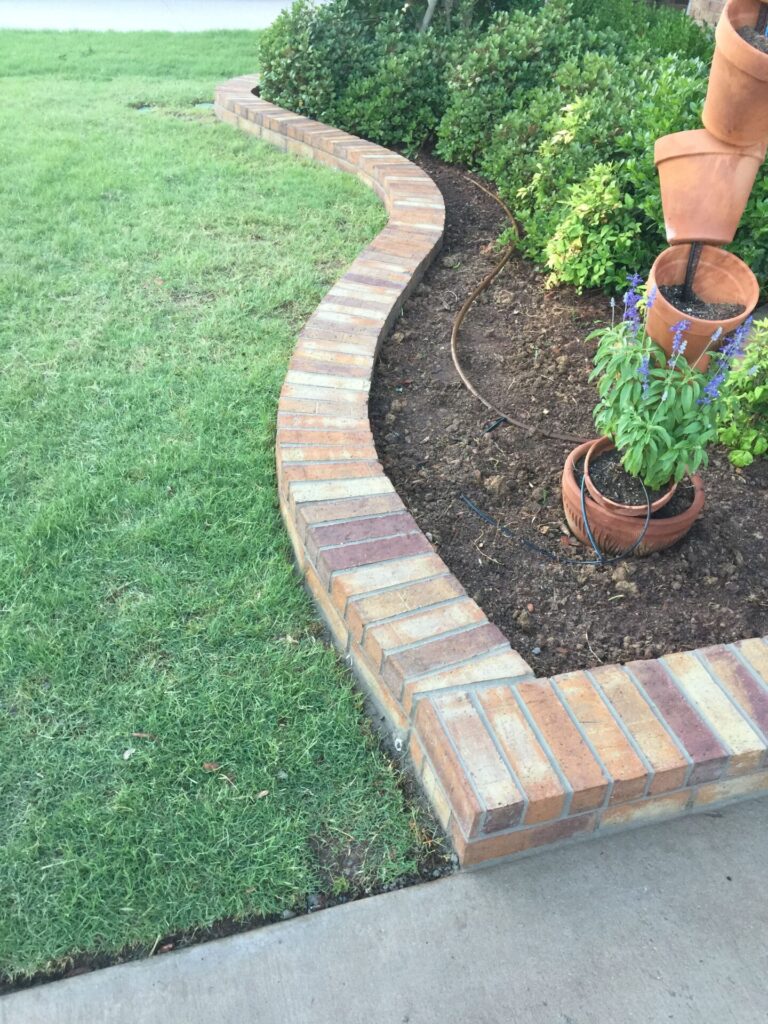
Stone or Brick Edging: If you want a more decorative and permanent solution, stone or brick edging offers a classic, timeless look. It is labor-intensive to install but provides excellent durability.
Concrete Edging: Ideal for straight lines, concrete edging is permanent and requires minimal maintenance, though it can be a bit more expensive.
Step-by-Step Guide to Installing Edging for a Clean Landscape Look
Follow these steps to successfully install landscape edging in your garden and lawn for a polished, professional appearance.
1. Plan Your Edging Layout
The first step in installing edging is to plan the layout. Walk around your yard and decide where you want the edging to go. You may want to edge flower beds, tree rings, or the perimeter of your lawn. Once you’ve chosen the areas, use a garden hose or string to outline the edges of the areas you want to define. This helps you visualize the flow and make any adjustments before you start digging.
2. Mark the Edging Line
Once you’re happy with the layout, mark the line using spray paint, chalk, or a garden marker. Make sure the lines are consistent and straight (or gently curved, depending on your design). This line will guide your digging and edging placement.
3. Dig the Trench
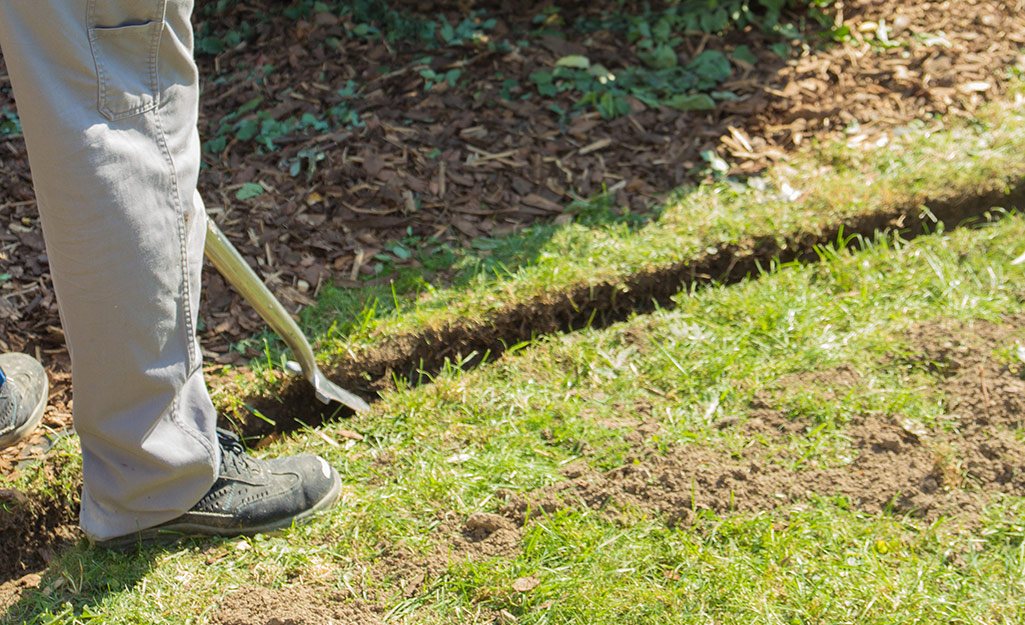
Using a shovel or garden edger, dig a trench along the marked line. The trench should be deep enough to hold the edging material in place (usually around 4–6 inches). For flexible materials like plastic or metal edging, the trench needs to be shallow, while stone or brick will require a deeper trench to ensure stability.
4. Prepare the Soil
After digging, remove any grass, weeds, or debris from the trench. This will ensure that the edging sits securely in the ground and prevents it from shifting over time. If necessary, add landscape fabric beneath the trench to help control weeds and improve drainage.
5. Install the Edging Material
Place the edging material into the trench, ensuring it fits snugly against the soil. For flexible materials, like plastic or rubber, you can often snap pieces together or unroll them and fit them into place. For stone or brick, begin placing them from one end of the trench to the other, ensuring the edges are aligned evenly.
6. Secure the Edging
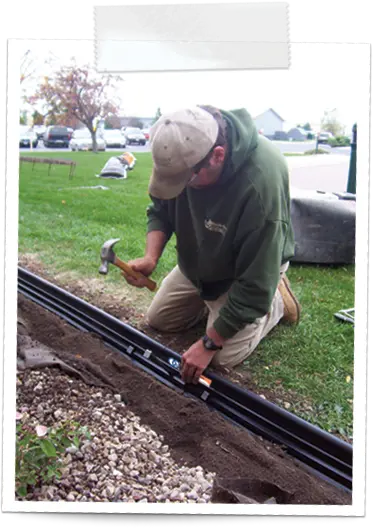
Once your edging is in place, secure it by driving stakes or pins (often provided with the edging) into the ground. This keeps the edging from shifting over time. For stone or brick, use a rubber mallet to gently tap them into position.
7. Fill in the Soil
After the edging is secure, backfill the trench with soil to hold the edging firmly in place. Tamp down the soil to eliminate air pockets and ensure stability.
8. Maintain Your Edging
To keep your landscape edging looking its best, regularly remove any grass or weeds that may try to grow through the edging. You can also apply fresh mulch to garden beds, as needed, to keep the soil looking neat.
The first step to a healthy lawn is selecting the right type of grass. Georgetown, TX, experiences hot summers and mild winters, making it crucial to choose a grass that thrives in these conditions. Warm-season grasses like Bermuda, Zoysia, and St. Augustine are perfect for Georgetown’s climate, as they are drought-tolerant and grow best in warmer temperatures.
Bermuda grass is especially popular for its durability and ability to withstand heavy foot traffic, making it a great choice for families with kids and pets. Zoysia offers a lush, thick texture and is more shade-tolerant, while St. Augustine is ideal for areas with a mix of sun and shade. Planting the right grass ensures that your lawn is better equipped to handle the local weather and challenges.
Proper watering is essential to maintaining a lush lawn in Georgetown, TX. During the summer months, it’s tempting to water your lawn daily, but overwatering can lead to shallow root systems and weed growth. Instead, aim to water your lawn deeply but infrequently.
The best time to water is early in the morning, before the sun gets too hot. This allows the water to soak into the soil before it evaporates. Aim for about 1 to 1.5 inches of water per week, including rainfall. If you’re unsure, a simple way to measure water is to place a rain gauge or a small container (like a tuna can) on your lawn while watering. Once it fills up to about 1 inch, stop watering.
Aeration is a game-changer when it comes to lawn care in Georgetown, TX. Over time, the soil in your lawn can become compacted, which makes it harder for water, nutrients, and air to reach the roots of your grass. Aerating your lawn once a year (typically in the fall) creates small holes in the soil, improving the flow of essential elements to the root system.
There are two main ways to aerate: using a spike aerator, which punctures holes in the soil, or a core aerator, which removes small plugs of soil. Both methods are effective, but core aeration is generally preferred because it removes soil, creating more space for grass roots to grow.
Fertilizing your lawn is key to keeping it healthy and green. However, not all fertilizers are created equal, and it’s important to choose one that provides the right balance of nutrients for Georgetown’s soil. A soil test can help you understand your lawn’s specific needs, but generally speaking, a fertilizer with a balanced ratio of nitrogen, phosphorus, and potassium is ideal.
The best time to fertilize in Georgetown is during the growing season, typically in late spring or early summer, when the grass is actively growing. Avoid fertilizing in the winter months, as the grass is dormant and won’t benefit from the extra nutrients. Additionally, be sure to follow the recommended application rate to prevent over-fertilization, which can cause nutrient imbalances and harm your lawn.
Mowing is more than just a weekly chore—it’s a vital part of lawn care. One of the most common mistakes homeowners make is mowing their grass too short. Cutting your grass too short can stress it out, making it more vulnerable to disease and pests. Instead, aim to mow your lawn at a height of about 2.5 to 3 inches, depending on the type of grass. This encourages deeper root growth and helps the grass retain moisture.
Make sure your mower blades are sharp to avoid damaging the grass. Dull blades can tear the grass, leaving jagged edges that are more susceptible to disease. Mowing your lawn regularly and at the correct height will ensure a lush, healthy look year-round.
Tips for Maintaining Your Edging
Regularly check for shifting: Some edging materials may shift over time, especially if the soil moves or settles. Periodically check to ensure your edging stays intact.
Trim the grass: Keep the grass next to the edging trimmed to prevent it from growing over the edge and losing its definition.
Clean the edging: If your edging material starts to look dirty, give it a quick rinse with a hose or use a mild detergent to clean it.
Conclusion
Installing landscape edging is an affordable, effective way to transform your outdoor space. By following these simple steps, you can easily define your garden and lawn areas while enhancing the visual appeal of your yard. Choose the right material that suits your style and budget, and enjoy a clean, professional look that will make your garden shine all year round!


